Tuesday, October 4, 2011

Goodwill Wreath Craft

You would be surprised what you can find at the Goodwill!


Step 1: Put Elmer's Glue on the back of each leaf
Step 2: Have your child place the leaf on the back of the circle part of the wreath


Final Result:

Saturday, October 1, 2011

Fall Foliage Hand Tree

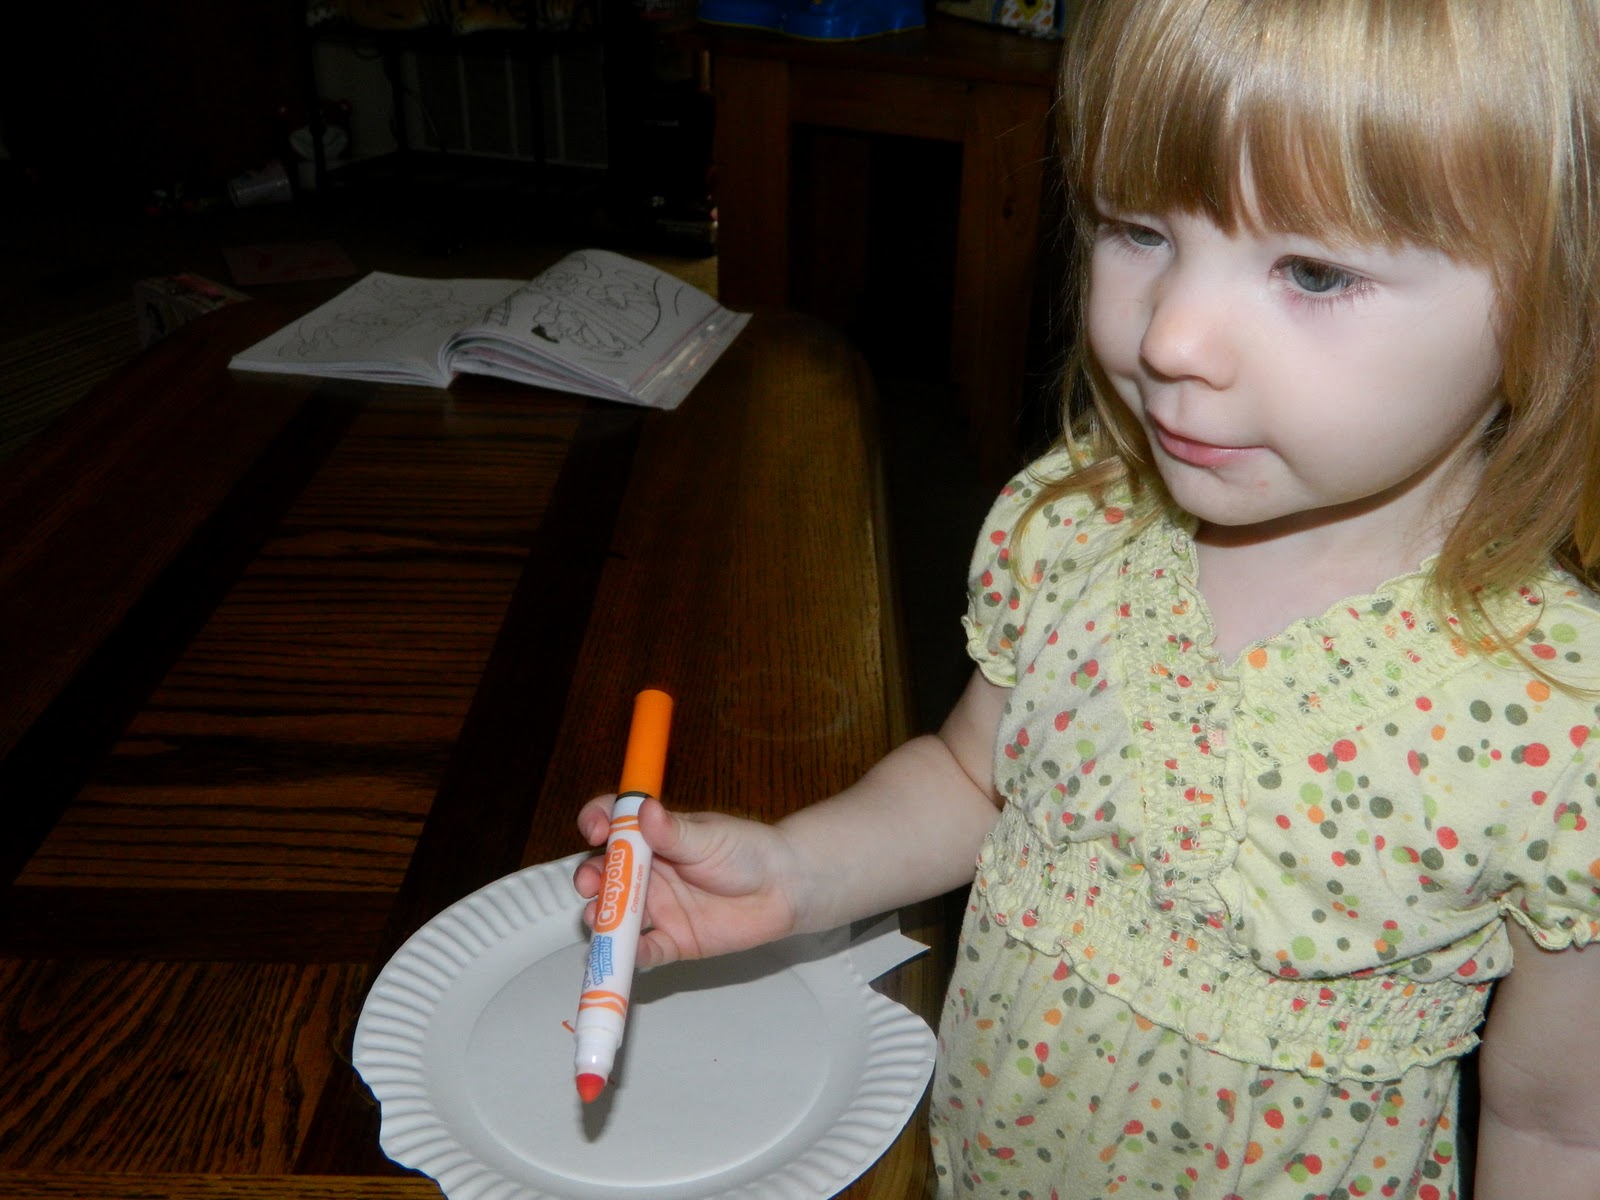
This one is an interesting one as you can choose whatever medium to color the leaves as you please. We chose markers, but you can use crayon or finger paint or what ever you see fit.


Fall Foliage Hand Tree
Step 1: Make an example for your child to base their drawing on. This is not a necessity, but I found it helpful C:

Step 2: Trace your child's hand on a brown piece of construction paper.

Step 3: Cut out the hand
Step 4: Glue the hand on a different piece of construction paper. We chose orange because that is our "color of the month."

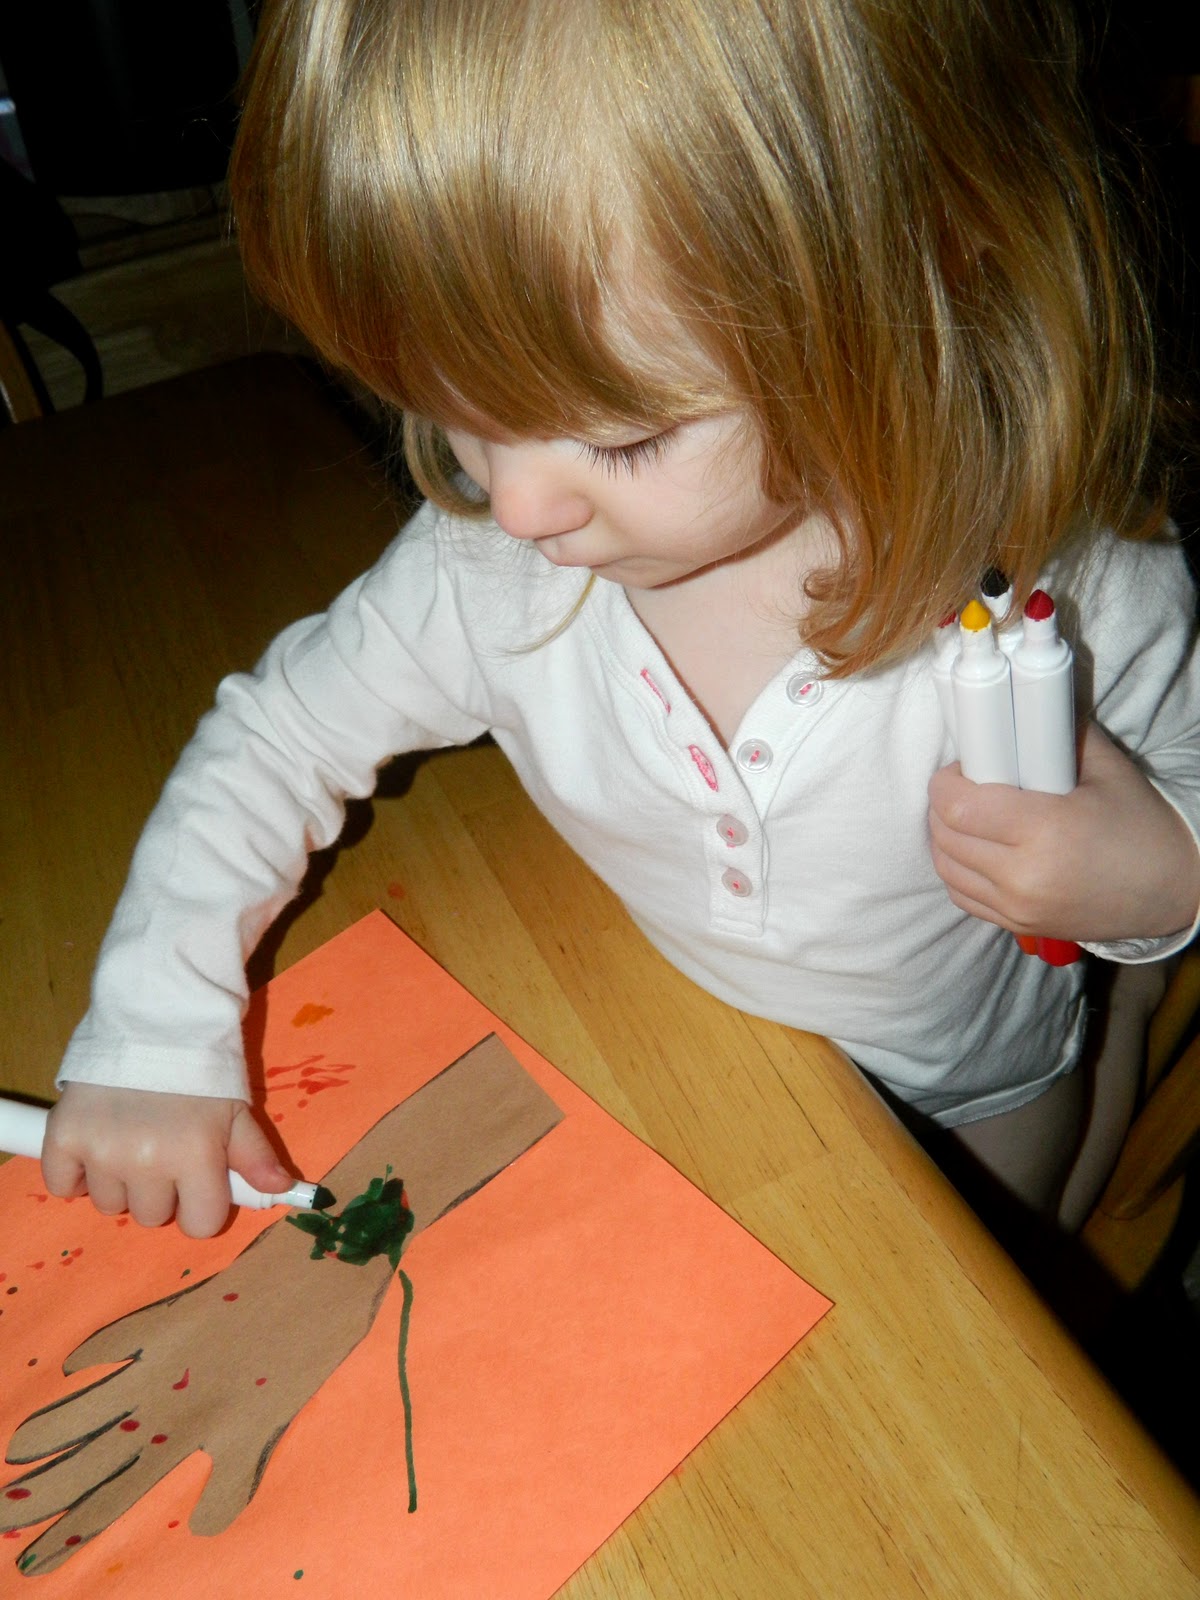
Step 5: Have your child color dots all around their hand (my two year old decided to do more than dots, but she had fun ^,^)


Final Result:

Friday, September 30, 2011

The Black Cat

This is a cute little craft =^.^=


The Black Cat
Step 1:
Color a paper plate completely black on both sides. Use whatever medium you choose. We chose crayon.

Step 2:
Cut out a "C" shape from the bottom of your paper plate.

Step 3:
Use the piece you cut out for the tail and the head of your cat. You will need to shape the ears.

Final Result:

D.I.Y. Spiderweb Sticker Board

Well, this one is not as creative as the rest, but I thought I'd share that for those families on a tight budget, the Christmas Tree Shop (and Goodwill) have some awesome crafts for a pretty decent price. Here's one we did this morning:


Spiderweb Sticker Board...don't need to add steps, it's pretty self-explanatory.


Thursday, September 29, 2011

Ghosty

So we decided to do a craft involving tracing body parts.
Craft 3:
Ghosty
Step 1:
Trace your child's foot on a white piece of paper. If your child is old enough, let the trace it themselves.

Step 2:
Trace your babies pointer finger twice.

Step 3:
Draw a face on your "ghost"

Step 4:
Parents, cut out the pieces (unless your child is old enough to do it themselves) and tape the arms to the back of the ghost.

Final Result:


Wednesday, September 28, 2011

Fallen Leaf Wreath

The second craft we did was a fallen-leaf wreath. It was so fun!
Craft #2:
Fallen Leaf Wreath
Step 1:
Collect fallen leafs from outside C:

Step 2:
Cut out a circle from a paper plate
Step 3:
Glue the leafs in around the circle. Have your child place the leafs.

Final Result:

Pumpkins

So I decided today to try something with my 2 year-old, Alexis. This is the first craft session that I have done with her in her life and she loved it, so I've decided to start a blog with all the crafts that we do together. <3
Craft 1:
The Pumpkin
Step 1: Find a template or simply cut out a pumpkin from memory. I did the memory one, but there will be a template down at the bottom of the page for pumpkins.


Step 2:
Have your child color in the pumpkin with washable marker (or normal marker, that part is up to your discression).

Step 3:
Draw a jack-o-lantern face on the front with permanent marker (parent's job).

Step 4:
Pop a hole through the top of the stem and hang your pumpkin C:


Template for pumpkin.